It must be love, love, love. 🎺
It must be love, love, love. 🎺
Nothing more. Nothing less. Love is the Ness! 😆
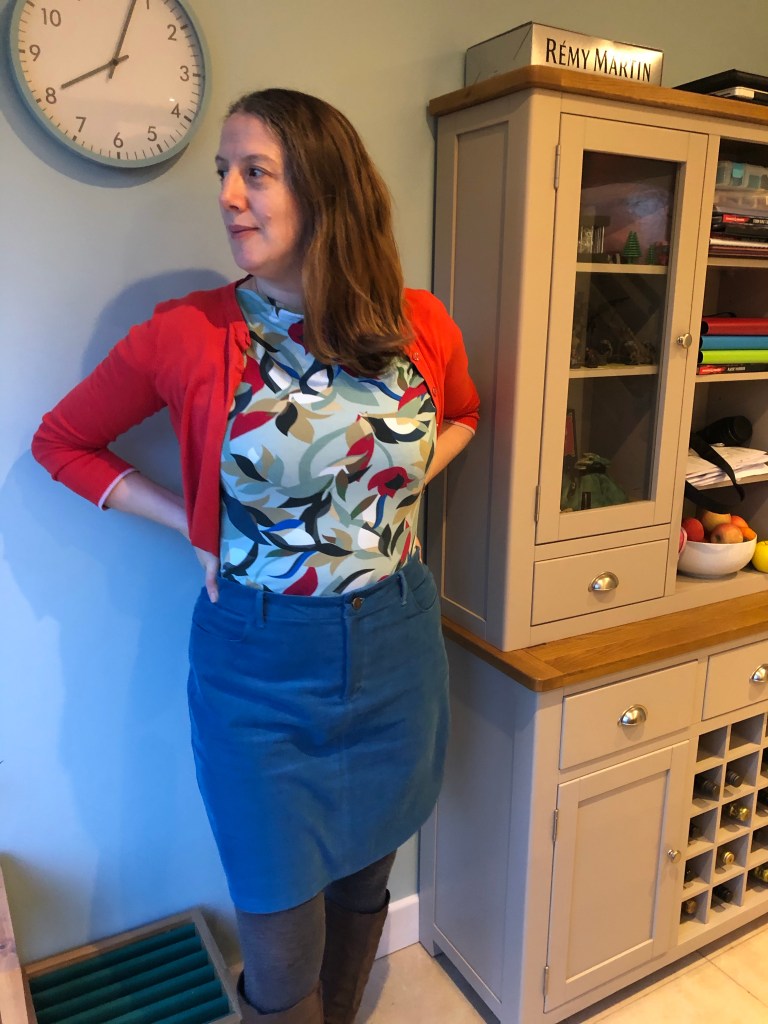
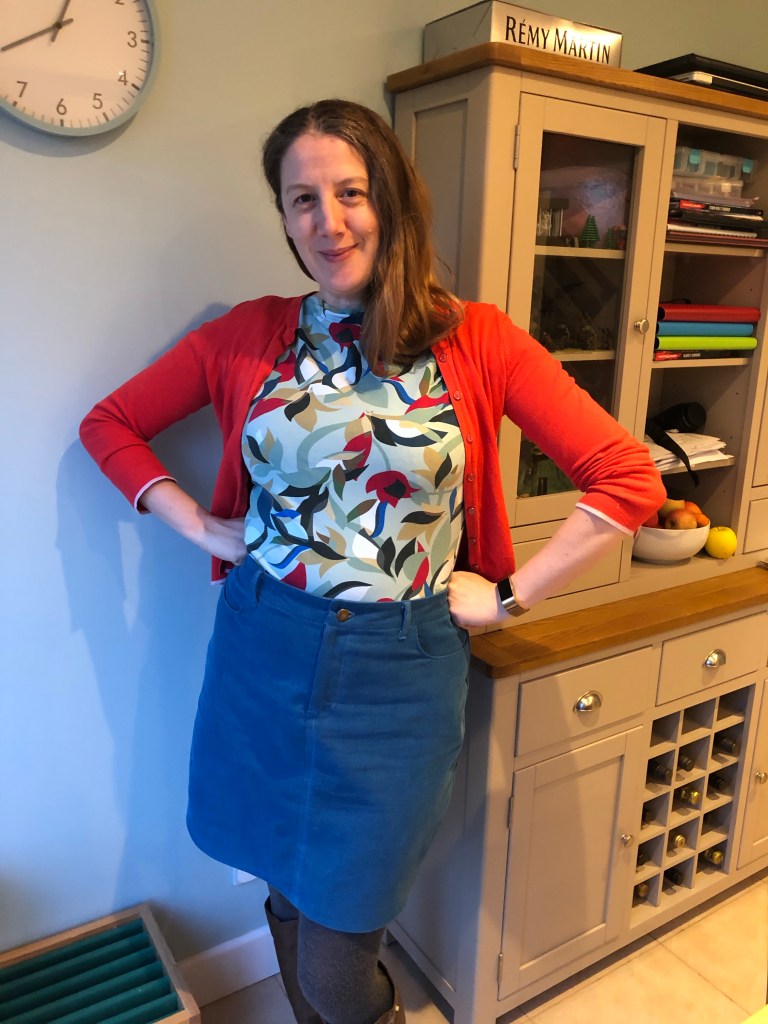
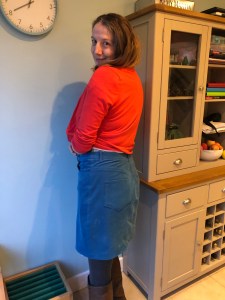
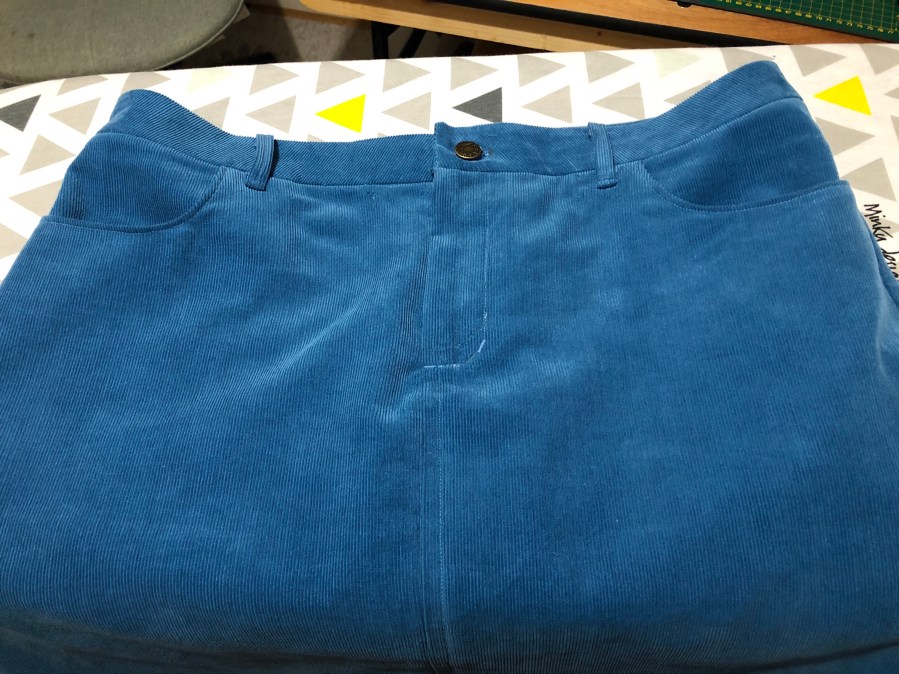
Hello folks, just look at the cuteness that is the Tilly and the Buttons Ness Skirt! I fell in love with this skirt ever since I saw the wine red cord version that Sarah made for herself as a pattern tester for the launch of the pattern.
It’s just the kind of skirt I wore when I was younger. (Imagine so-90s DMs and you’re there). I love a skirt that in the winter you can team with lovely thick woolly tights and tall boots, so that you don’t feel like you’re hiding the shape of your legs under trousers and jeans all winter. They’re so cute and feminine without being too childish. I just adore this design too, it’s such a lovely shape. I went with the mini version as it’s actually not what I would call too mini. Just nicely hovering above the knee.
So this corduroy is a lovely shade of turquoise and I got it from Ginger Thread Girl when she had a destash in August 2018. Can’t believe it’s been that long already! I received this, and then in October of that year, Ness and Nora were released. I knew it was a match made in heaven. However last year, I had a big gap in the year when I didn’t sew anything for a long while. Then of course, I made a coat that took ages..!
I’m glad I left it until after the coat though. I feel like now is that time to mark the coat down as a step-up in my skills and everything will be either BC or AC. Before Coat or After Coat! 😆 And then it is written, so mote it be. Amen. 🤪🙏🏼
The main reason I say this is because I have done SUCH a neat job of it. I remember seeing some work that Ginger Thread Girl Jen had done on a welt pocket while at the Sewing Weekender a couple of years ago and feeling like it was neatness goals. 😍 How fitting to then be making something I deem to be just as neat with fabric I got from her.
I’ve not even taken especially long in making any of it. But having the overlocker has been great for this. Lots of lovely neat edges. I’ve noticed quite a few people have been complaining about how much their cord has frayed while working with it. Maybe I have fancy cord (obvs don’t know its full origin) but this wasn’t too bad. But most of the edges I overlocked right from the get go though.
I found the sizing surprisingly generous, but Sarah found hers was more forgiving in a cord than with a denim, so maybe factor that in when working with cord. I had originally, just going by the instructions, graded from a size 6 waist to a 7 hip. I really didn’t need to and this was me bringing it back in when fitting the skirt on later. Once I got to the right kind of hip hugging shape, I clipped the curve and overlocked the rest of this away.

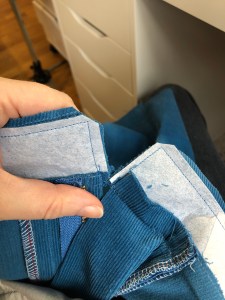
I did have one thing flummox me and I’ve been told by my Insta friends that a few people have had the same thing. So the instructions say that if you match up the notches on the interfaced waistband, then you should have a nice even 5/8″ of extra overlap at each end of the waistband, beyond the yoke panel you’re attaching to. Well! Whichever way I tried to line anything up, I couldn’t get it to give me an extra amount of waistband of more than about a quarter of an inch. I put it down for the night and had some sleep, while I waited for comments to come through on Instagram to help support me.
I suspect that because the corduroy was kinda soft, that some bit of it might have stretched a bit. Again, this came back to the sizing I mentioned earlier.
Mercedes of Sewing Bee fame, who I’ve followed since I started, asked about whether the pattern pieces still matched the panels on the fabric. Good question, I thought. But it was hard to tell after some seam allowances had been trimmed and overlocked. But she did give me ideas. So the waistband piece I was trying to fit to the skirt was interfaced and so quite stable and static. Whereas the skirt yoke panel, not so much. But I had a look at it in the light of day after some sleep and introspection.
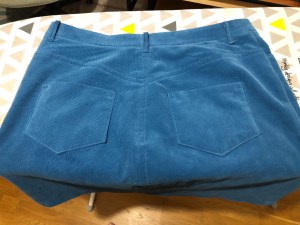
The interfaced waistband piece was still exactly the same as the non interfaced waistband piece. So I was confident that hadn’t shrunk, as one person had suggested. I guess it must be the yoke piece was a tiny bit more stretched out. I made a note in the instruction booklet to stay-stitch the yoke piece at the beginning of the process for when (not if) I make this again. Actually when I later looked at the photos from behind when I was wearing the skirt, I thought maybe the yoke might benefit from some interfacing too. That would be the ultimate test wouldn’t it? Would the waistband fit when the yoke had been interfaced too..?! Dun-dun-duhhhhhh!
Anyway, I lined up the waistband as it was, so that there was enough of a little bit overlapping each end of the skirt enough to make a seam allowance of about a quarter of an inch. I then carried on with the construction. They say it needs to have 5/8″ at each end, but actually whatever seam allowance you have will suffice because as soon as you’ve sewn up to the skirt edge (and before you turn it to the right sides out), you just trim that seam allowance and clip the corner off anyway!
I almost feel like I’ve short-changed you by going through talking about that and saying it didn’t matter in the end anyway. But someone might be reading this who is about to make the thing, and find themselves with the same problem, so I want to be clear with you about that. As long as you have enough waistband to sew up to the skirt edge and have a safe bit of seam allowance each end, you’ll be ok. I hope. But don’t sue me 😆.
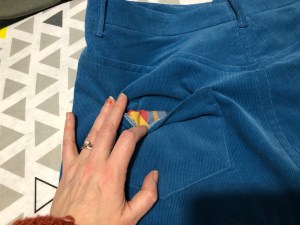
So I had some fun adding some lining in. Yes, it’s the same lining as my coat and I even lined the patch pockets at the back, which they don’t ask you to do, but I just couldn’t resist. There was a perfectly sized piece on my remaining scrap that fitted the back pocket so it just had to be done. Basically when the instructions call for attaching the patch pocket, I turned in the edges of the lining fabric slightly more than the outer fabric and sewed that in with the pocket. Only you and I know it’s there but it’s this lovely little pop of colour if I’m ever looking and a nice smooth bit of fabric when I put my hands in my back pockets. 🥰😍
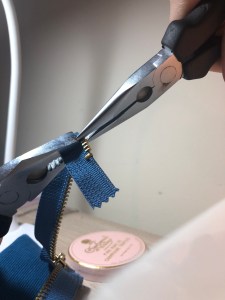
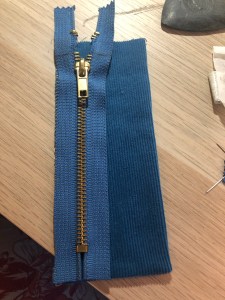
I love Tilly instructions when it comes to something like inserting a zip. She just seems to make sense and you feel so comfortable doing it. I had an instruction booklet with an “oops” note left in, saying they were changing the order of making the zip area, but it was absolutely fine to do. I had to shorten my zip, because it calls for quite a short zip and finding one that same colour was a challenge. But all you do is pull off some teeth with some pointy-nosed pliers, while holding the zip in some chunky pliers in your other hand, and you’re safe to sew across the zip to do the waistband.
I could have chosen to topstitch in a contrasting colour. I actually have some bright yellow topstitching thread that I could have used. But:
a) I didn’t want to jinx the nice neat job I was doing, especially as the last time I used topstitching thread, my machine didn’t get on with it;
b) if anywhere was a bit less perfect, it was around the zip;
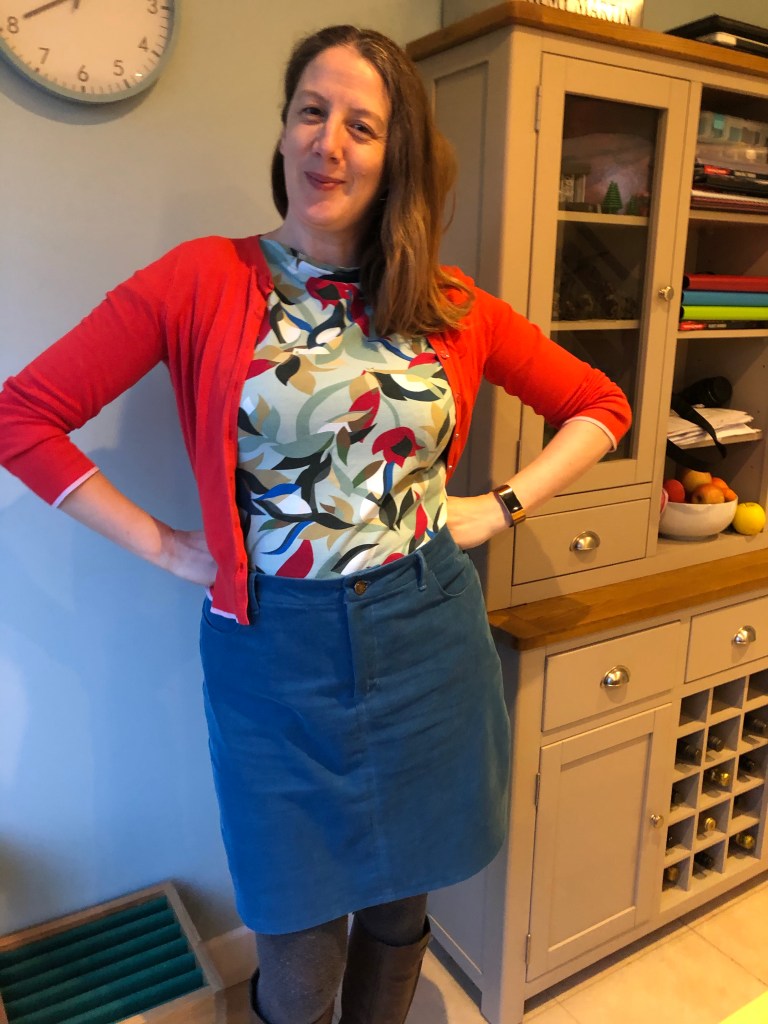
c) I didn’t want the skirt to dictate what it was going to be paired with. I need a few plain block coloured things in my wardrobe, as all these prints can mean you can’t mix and match very well at the end of the day. I like things to be versatile so that you don’t make for the sake of making.
All I need now is maybe rust coloured one. I don’t think it will be long awaited. 😊
Thanks for visiting and reading my lil blog. I hope you enjoyed it. Take care, I’ll be back soon with more as my sewjo is on fire at the moment! 👋🏼