
Hi folks,
Really great to be able to set some time aside for myself lately. What with everything happening in the world and having everything to do at home instead of school and work being separate, it’s not often I get the chance to do something for me.
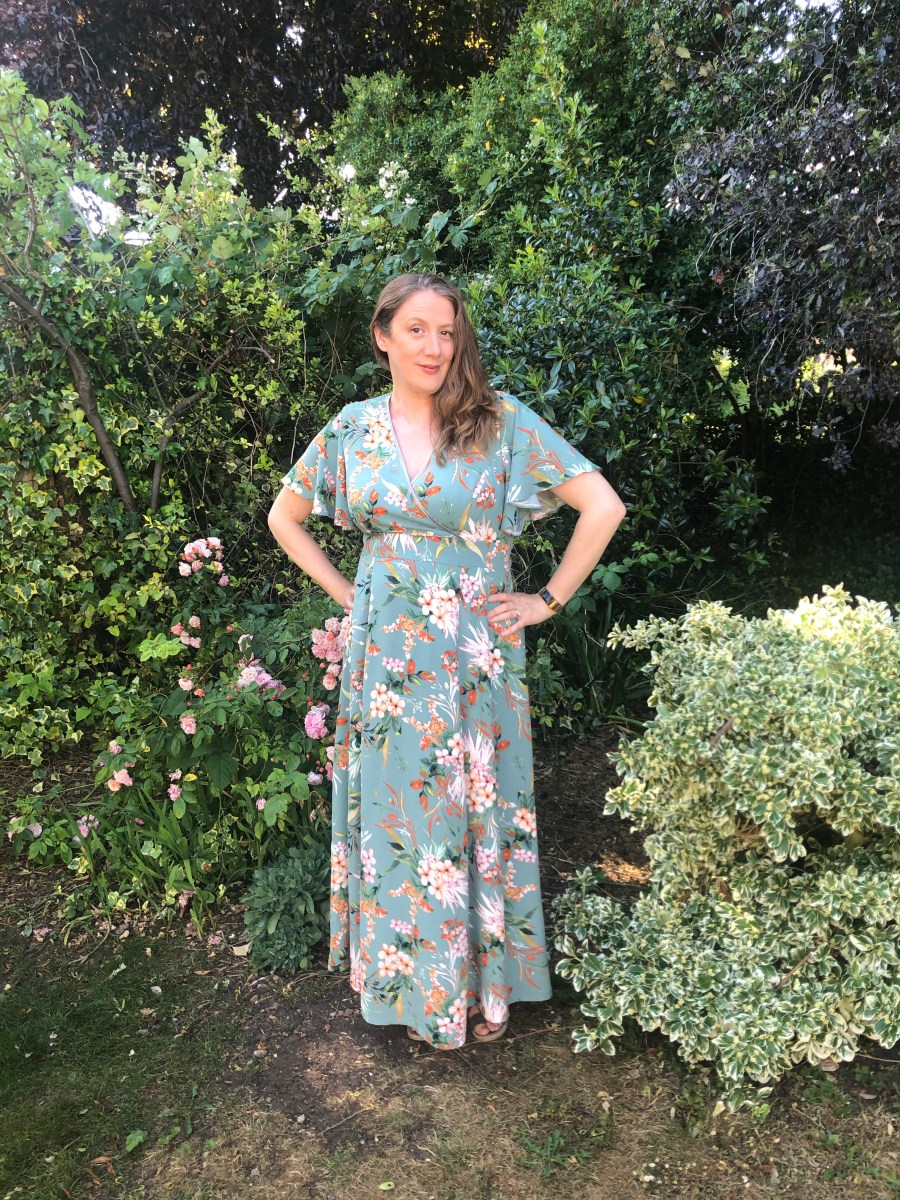
It’s a long time coming, as I’ve wanted to make the Magnolia dress, from French pattern house Deer and Doe, since it was first launched in early October 2018. It’s such a flattering silhouette don’t you think?
I bought fabric specifically for the dress from Like Sew Amazing (no longer in stock, but you bet there’ll be something else just as gorgeous) and I knew from the start that I wanted to mix up the two versions, by having the length of Version A, but the beautiful sleeves of Version B. I also knew that I wanted to lower the start of the slit in the side of the skirt. I want to be able to wear this wherever I like without feeling uncomfortable about it falling open and showing pretty much most of my leg. Not that there’s anything up with my legs, but ya know – a little modesty always goes a long way. With this in mind, I also thought the Version A neckline might be a bit too low cut for me too, so I tried the Version B and decided I wouldn’t have wanted it to be any lower cut than that.
Having just had a fit disaster with making a jumpsuit that was wayyyyy too big for me, which I’ve not yet shared, I knew I really should make a toile and do this properly. I also thought that the bodice being quite fitted, I should make sure I get that right. I’ve made a couple of things where the bodice has ended up feeling roomy over my shoulders and around the armscye, so I wanted to address that fully this time.

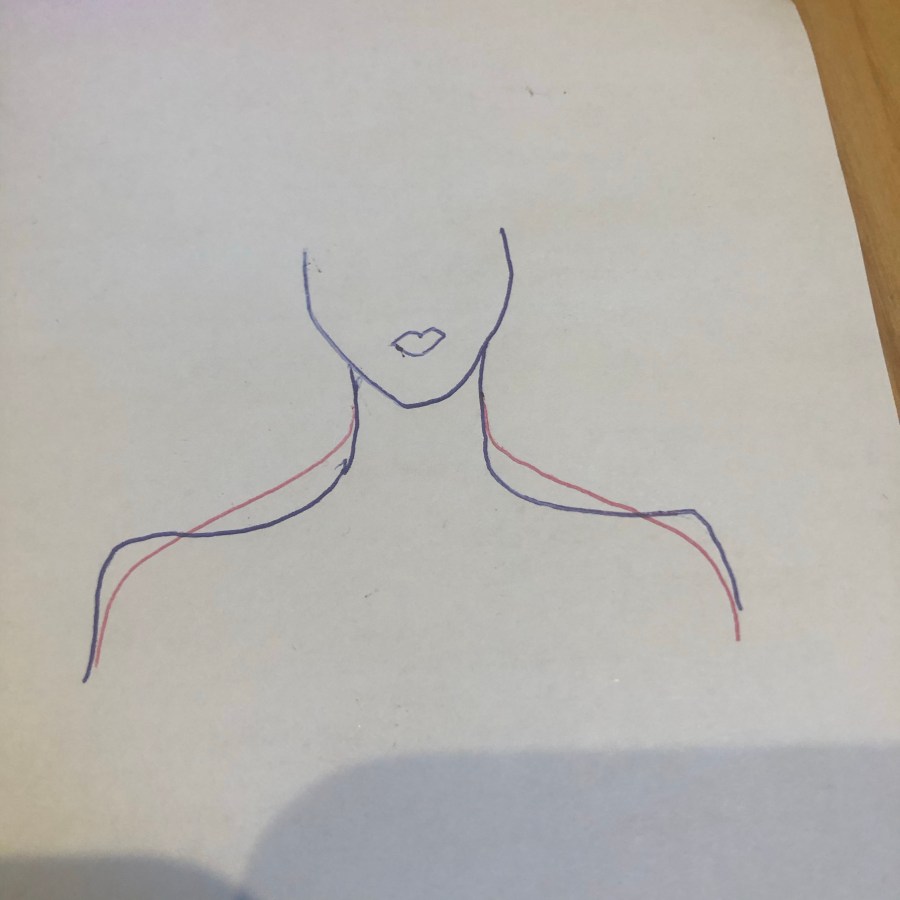
Boy was I right to do so. I based my sizing on my full bust measurement. Now I know “they” say to go for the high bust measurement and do a fit adjustment for the bust. But I started with that and had a good look around for what I needed to and found other things. I had also referred to my online bust fitting course by Stitch Sisters and after measuring myself and referred to the base cup size that Deer and Doe was based on, I knew it wouldn’t work, to go down a size and then do a bust adjustment. It wasn’t that kind of fit issue. So firstly, I noticed that my shoulders and neck are not a standard shape. So if you imagine the naff blue drawing below being a standard shape, neck going down and then shoulders going across. Well at the risk of exaggerating in the drawing, my neck kinda slopes down and my shoulders are dropping further down than you would expect. So when I pinched the toile shoulders to take out about half an inch of room at the top, then the whole thing started to make more sense. But it was a wedge rather than a rectangle pinched out.
But then also in the back, if I just leave it at that, there were awful drag lines down my back and still excess room in the front of the armscye. Like the armscye is too far forward and needs to be moved backwards a bit, as I think my high back is slightly hunched. I looked at some fitting advice on this from a nice helpful lady called Glenda Sparling from Sure Fit Designs, who talked about the sloping shoulder adjustment, where you take a wedge out of the top of both the front and back shoulder bodice pieces, and then whatever you take out of the top, then you make more room in the back armscye to the same amount, so you scoop out more out of the armscye curve by the same half inch.
This still left a gape in the front bodice, so I just took a wedge out of the side bodice piece, right where it was gaping the most. This might not be the absolute textbook way of doing it, but it means my bodice fits me like a dream now. I was nervous about taking the extra armscye room from the front, when it came to fitting the sleeve in the same space. The instructions said you can slightly gather at the top of the sleeve if needed, but I found I had exactly the right length of sleeve to armscye, so they fitted together without any gather and without any stretching into place. I prefer this look anyway, so the sleeve was completely unaffected.
Here are a few of the photos I took when making these adjustments:


Once I was happy with the fit, I got on with putting the dress together and I actually had a really good time of it. It slotted together nicely. I have a new machine, and so I was looking forward to making the dress as neatly as I could and using fresh instructions on how to use the zipper foot provided and so on.
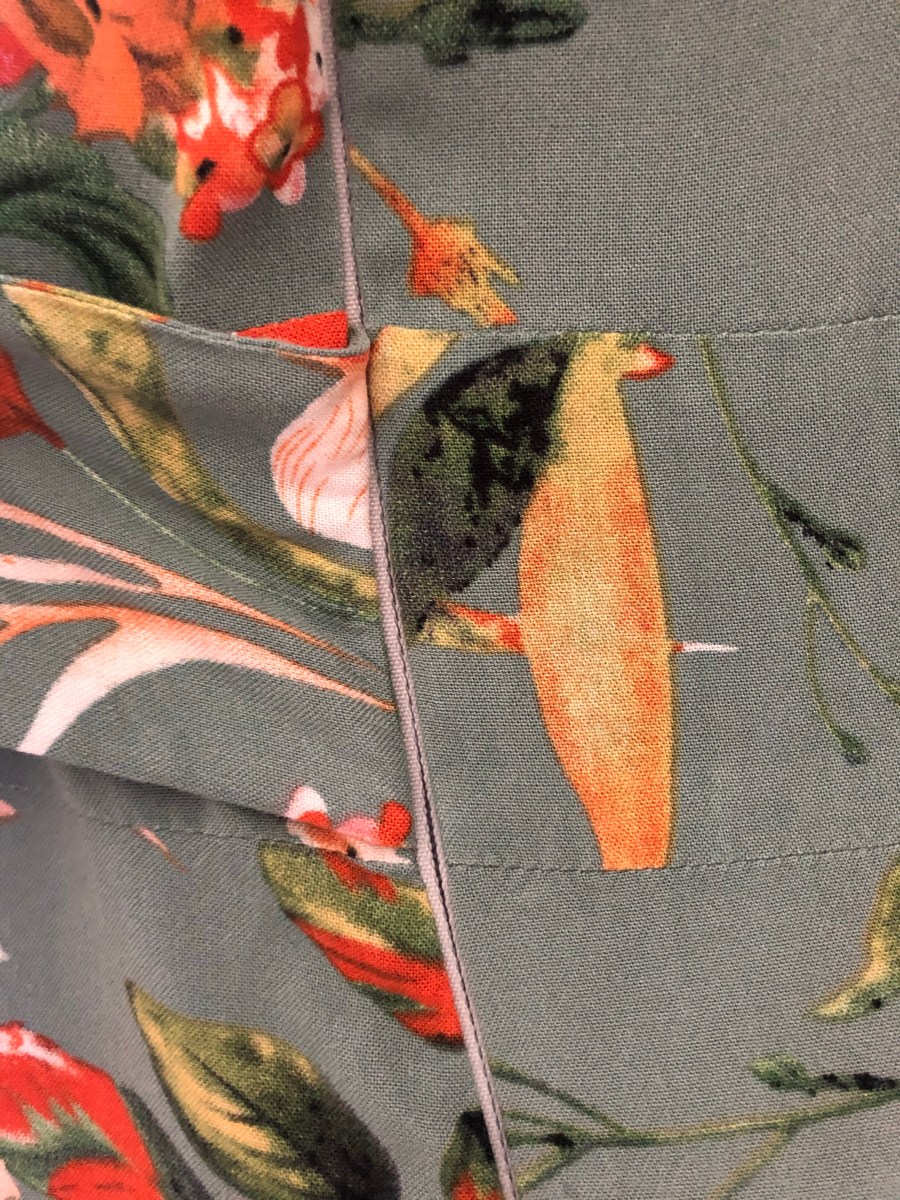
The zip took a little bit of careful pinning and checking, pinning and checking again. So you sew one side and then what you have to be careful of is when you sew in the other side, that the whole things zips up in a lined up manner. Along the length of the zip, you come to a point where you have a waistband and also a tie/sash fitted into the waistband. So when you zip that up, you want them to sit next to each other. I don’t claim to have any kind of method for this, other than just pinning, trying to zip it up, and adjusting where needed.
What I also find with zips, I don’t know about you, but the bottom of the zip where the base of it starts, I can never quite sew up to the zip to make it properly concealed. So further up, what I do is unzip the zip, so that I can lay the teeth flat and sew right up next to them. But there’s always a bit near the bottom where the slider is in the way. Yes you can zip up the zip, so that the slider’s out of the way, but then you can’t lay the teeth flat any more. Maybe I should do more research on this. But anyway, what I do is sew that last part as close as I can and then just hand stitch it again, while I’m relaxing watching the TV or something, so that it’s as close up as the rest of it.
Pretty happy with the final result of the zip and the waistband area actually.
No issues with the rest of the construction. I’m getting more familiar with the way Deer and Doe instructions work now, so I was able to rustle it up in good time, in-between working from home and homeschooling. I added a lovely silver pre-made bias binding strip to the neckline, also from Like Sew Amazing and I wasn’t sure if it would make it look too dressy, like I should only wear it at a wedding or something, but I needn’t have worried. I’ve been wearing it non stop since, to pick up my son from school and everything, and I get lots of compliments on it. The colour and the design on the fabric is absolutely stunning and the shape on me is just heaven. I love the waist sash, which gives me a nice secure feeling as I’ve put on a few lockdown pounds, and the sleeves are just absolute heaven.


