
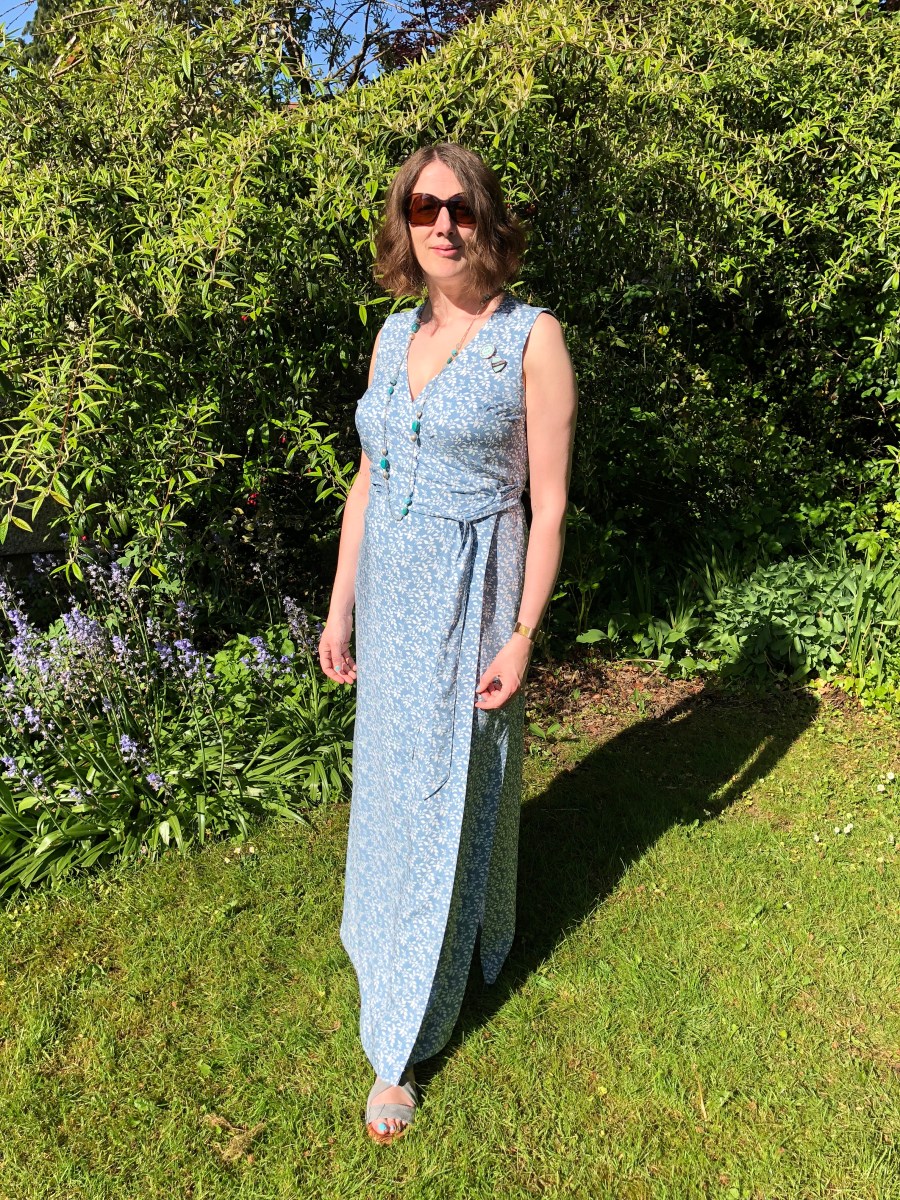
This spring, I wanted to enter into the Instagram challenge “Sew Together for Summer”, as I’ve been wanting to make a wrap dress to see if it suited me. I looked around for a wrap dress that would feel like my kinda thing, and Sew Sarah Smith had some suggestions. I noticed the Highlands Wrap Dress which I’d not heard of before. I made my decision straight away.
Then I was round at my friend Sarah’s house, who’s just opened her own online fabric shop Like Sew Amazing. I had the honour of being able to see and feel the first fabrics she had ready to sell, as she was opening the following weekend. There was a blue and ivory challis there which she said “this is so you”. She’s not wrong – it’s lovely. So the fabric was decided on. Then I just needed to finish a certain pair of trousers and I could get on with making it..!
Since finishing the Landers, I’ve taken ages making this dress – probably at least 15 hours added up together (easily more). The odd hour here, another two hours there. I reckon the facings alone took me about 4 hours to do.
 Partly it was that I wanted to do it justice and get it right, partly it was that I was trying out new techniques for the first time and wanted to learn it properly. So if I wasn’t sure, then I would lookup on the wonderful world of web, for guidance. But also this is a very different make to what I’ve done so far. Most of the previous makes have been fairly few pattern pieces and none that were anywhere near as huge as the front “bodice” piece. I put that in inverted commas, because it’s actually not just the bodice but the whole front of the dress in two wrap parts. The pattern piece is so big that even on a copy-shop print, you print out two pieces and tape them together. I had to find various cutting boards and lay them all out on the floor together, so I could cut it all in one piece, because I didn’t want to have to move this drapey fabric, once I started cutting at one end. (I’ve since bought a second large sized cutting board, in case this happens again – I’m a big fan of a maxi…).
The size of this also contributed to how long everything took. Pinning the facings to the dress was lots of very long strips of fabric going together – and I had to pin, cos it was moving about so much. Then some of these long edges needed pressing inwards, to form a tuck under which would then be sewn down – another half hour doing all that carefully. So so worth the final result, to take your time, breathe and go with it. But I did feel like I was being a slow-coach a bit.
 New techniques – it’s the first time I’ve done mitred corners – and they look really lovely – I’m so proud of those. Photo is pre being pressed down flat, but you get the idea. It’s the first time I think I’ve worked with really drapey viscose challis fabric too. That was a challenge and even though I took care with the largest piece, I still cut it a bit off. By the time I was trying to attach the facings to the dress, I could see that I was mismatched and it would be tighter around the bust. Not where I need things to be tight, and I’d already downsized. I’d downsized by one size because the dress is designed to be quite a free loose fit, and I just wanted it to look juuuust a little bit more fitted. I think that would have been fine, if I’d cut it well. It still fits – beautifully in fact – but I’ve used quite delicate little snaps inside to button down the wraps, and they keep popping open again. So I’m going to consider either stronger snaps or probably actually buttons instead.
 Here’s a photo of that realisation of how off my cut was. The top of it near the shoulder is pulled across because by this time, I’d stitched a dart on the right hand side here, but where the diagonal bit reaches down to the right, it’s still much smaller than the paper pattern. Never mind.
What I really enjoyed was finding out as I pressed things and laid out how the finish was looking, that it looked really neatly put together. I must be getting slowly better at that, and not racing ahead so much.
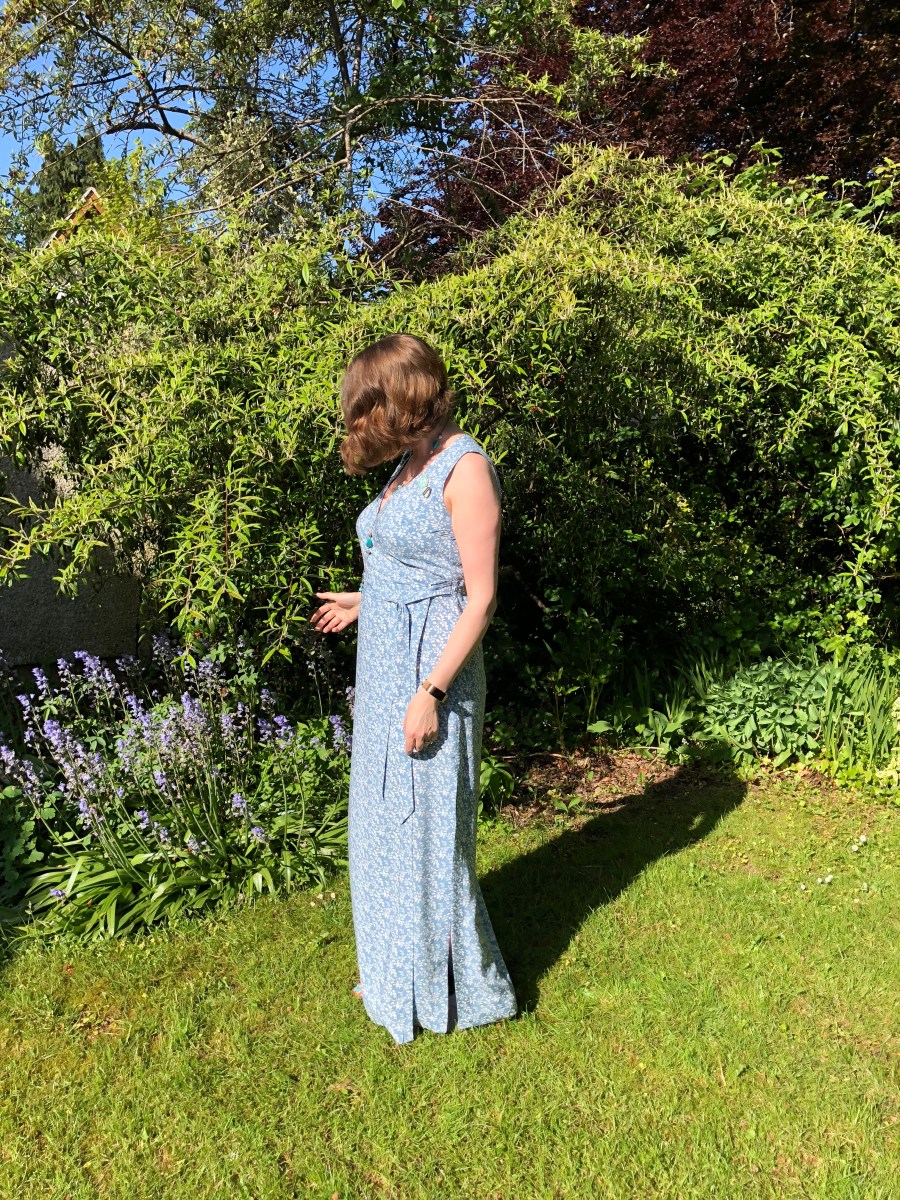
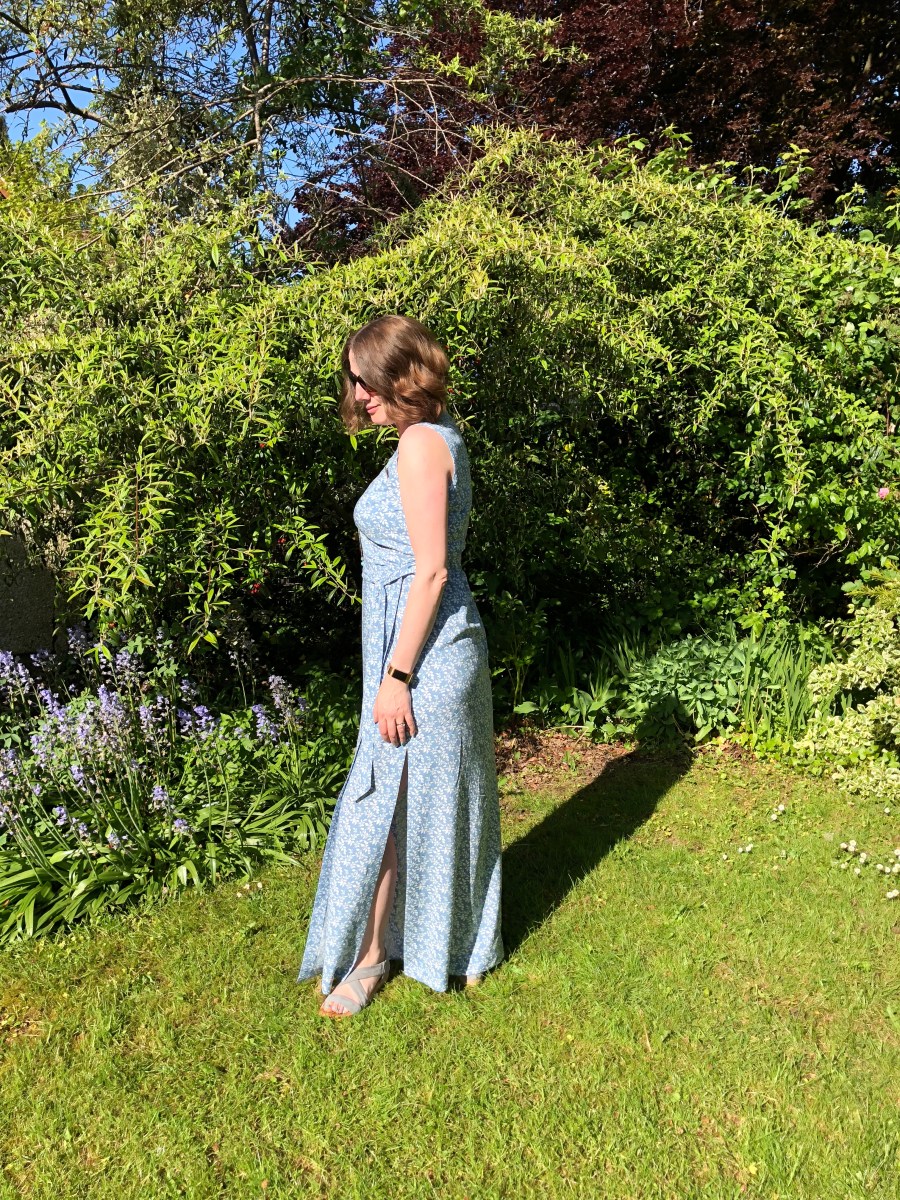
I’ve worn the dress for a day out already. Like I say, the poppers or snaps kept undoing themselves. One reason for this is that they’re really little snaps, but also – this dress is REALLY long. I mean, I was walking around the Mall at Cribbs Causeway yesterday and kicking it out in front of me as I went. I felt very swishy in it, but it’s right to the floor. It’s not practical being that long and I trod on it so many times, which popped the snaps open again. If you’re a princess who has nothing better to do with your time than hold your own skirts when walking up the stairs, then off you go. But I’m a working mum who’s walking up the stairs with a basket of washing, or a pre-schooler, in my arms. I nearly fell down the stairs this morning, just before my final photo shoot. The dress is designed for a person who’s 5 foot 6 inches tall. I’m 5 foot 6 inches tall. I’ve got to unpick my mitred corners and raise the hem by at least an inch, if not more, if I’m going to be thinking of this as a breezy summer dress. The splits up the side make it all the more imperative to raise the hemline, because those separate pieces just drape on the floor, instead of being pulled around you by the back of the dress. Anyway, I’ll stop ranting and end on a positive note. It’s just drop-dead-gorgeous to look at and I felt a million dollars walking around in it yesterday. I’ll just have to get changed when it comes to domestic duties…. 🙂


Working with a viscose challis is definitely a challenge in itself so you’ve done wonderfully here. And you do look a million dollars in it. Well done and thanks for entering! Xx
LikeLiked by 1 person
Thanks very much 😊 I do love it and thanks again for the challenge
LikeLiked by 1 person
Absolutely gorgeous! Just cut the hem and redo if picking out is not in your future plans! It will be lovely just the same!!!
LikeLike
I can’t wait to see what you make next!!!
LikeLike
Thanks for all your lovely comments. Really nice way to start the day 😊. I’m working on the Fumeterre skirt at the moment. Another one I’m forever unpicking and doing again. It’s a marathon arrggghh! 😂
LikeLiked by 1 person